
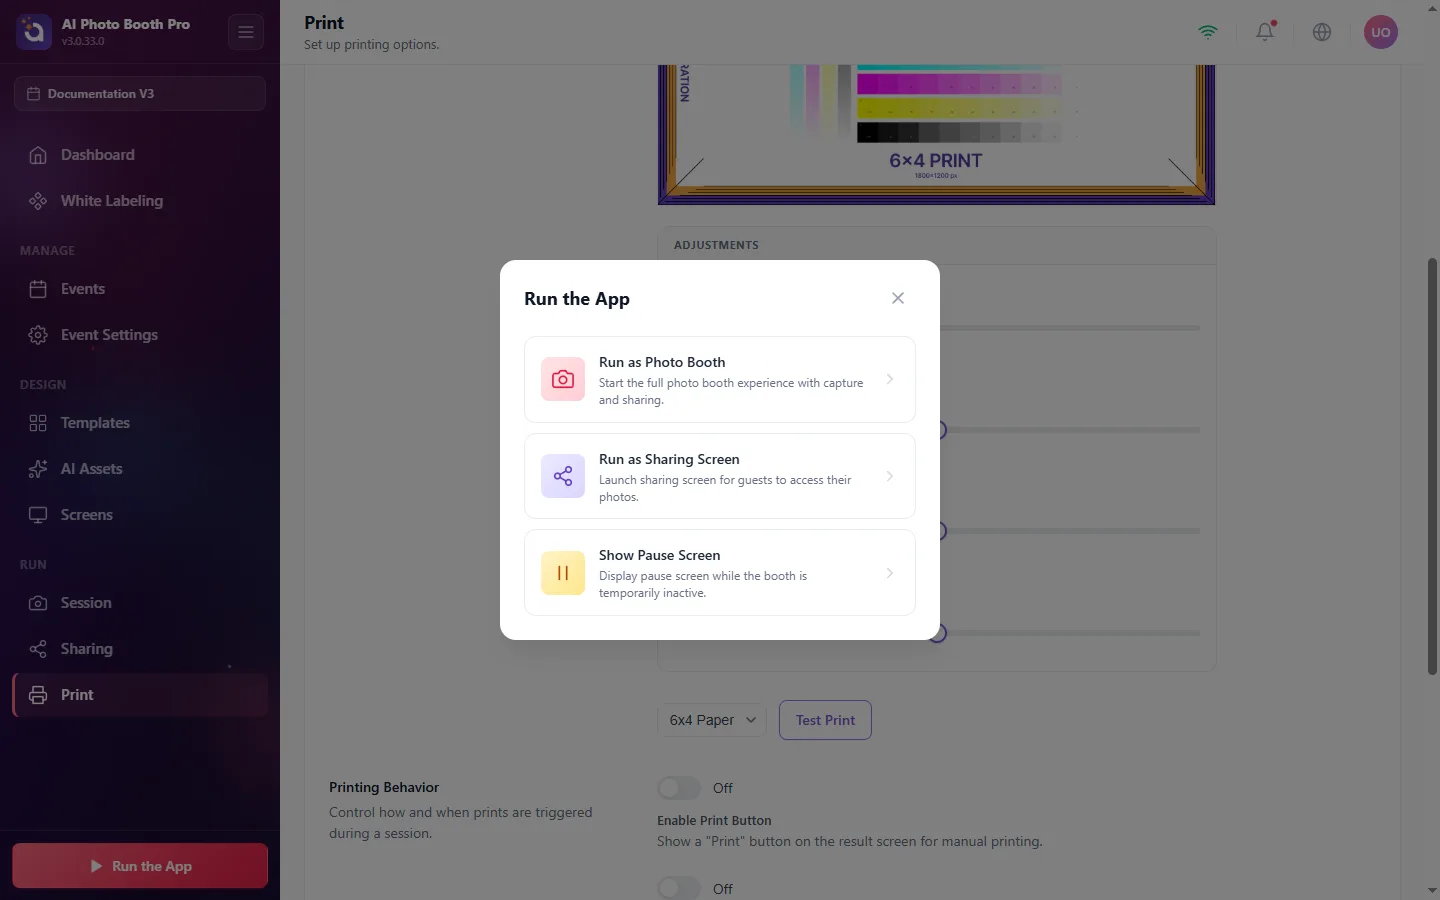
When you're ready for guests, click Run the App in the sidebar and choose Run as Photo Booth. (You can also launch a standalone Sharing Screen or a Pause Screen.)
Here is exactly what your guests see, step by step:
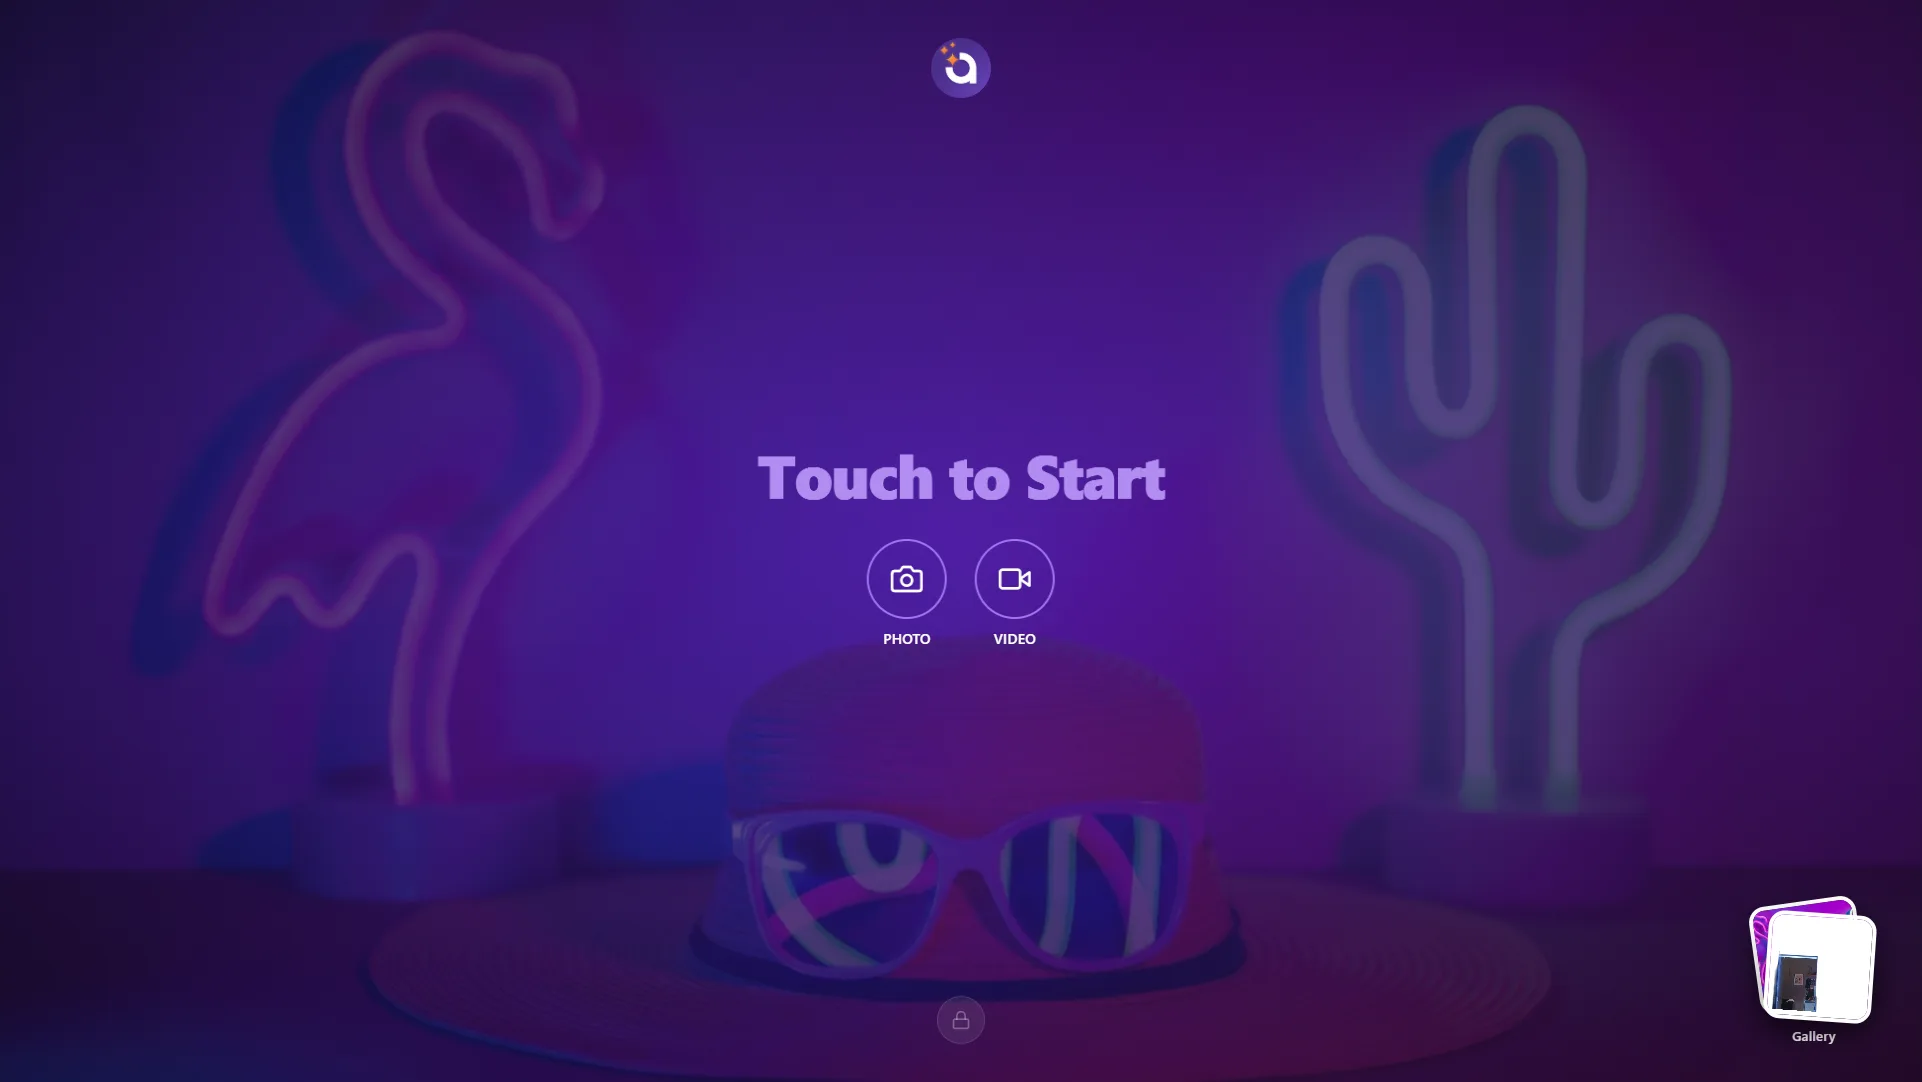
1. Welcome, "Touch to Start"
A fully branded welcome screen invites guests to begin and pick Photo or Video. A Gallery button lets them find earlier photos.
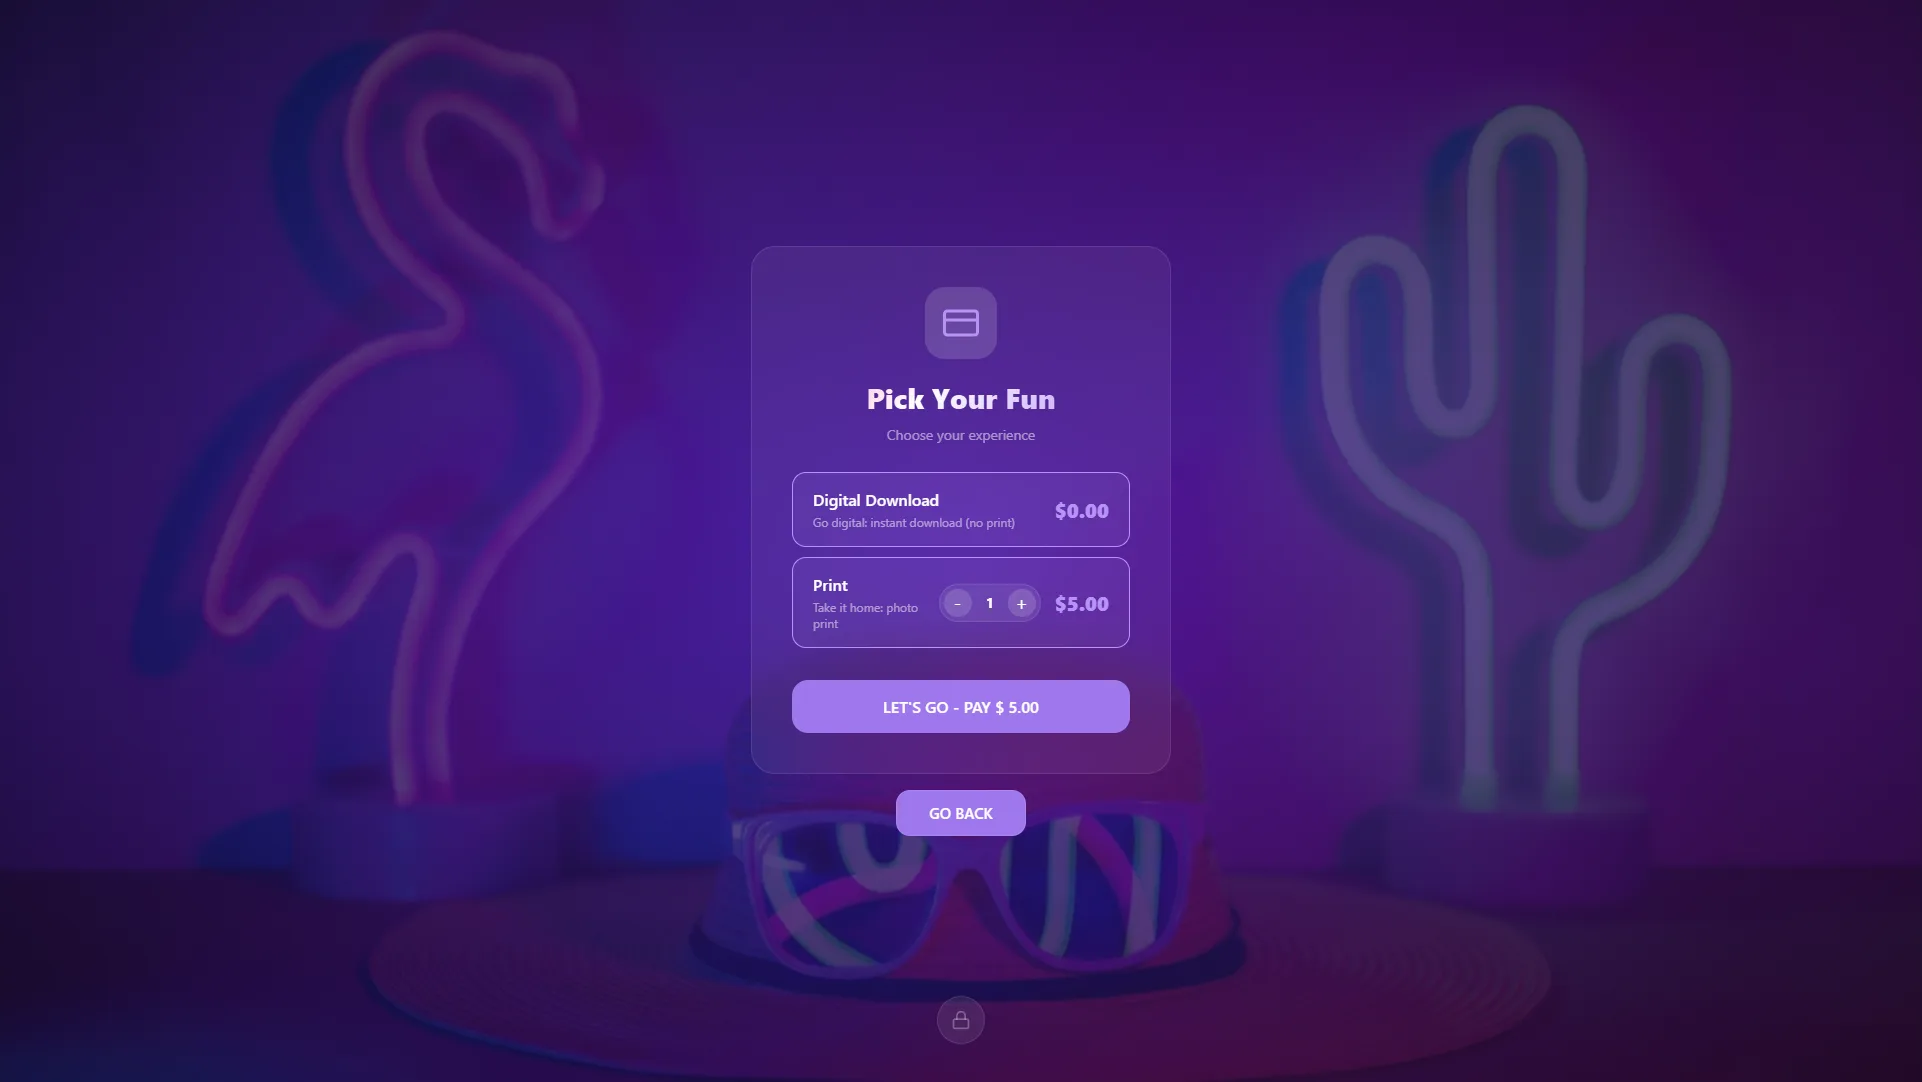
2. Pick Your Fun (only if Payments are on)
If you enabled Payments, guests choose Digital Download and/or Print (with quantity) and pay before continuing.
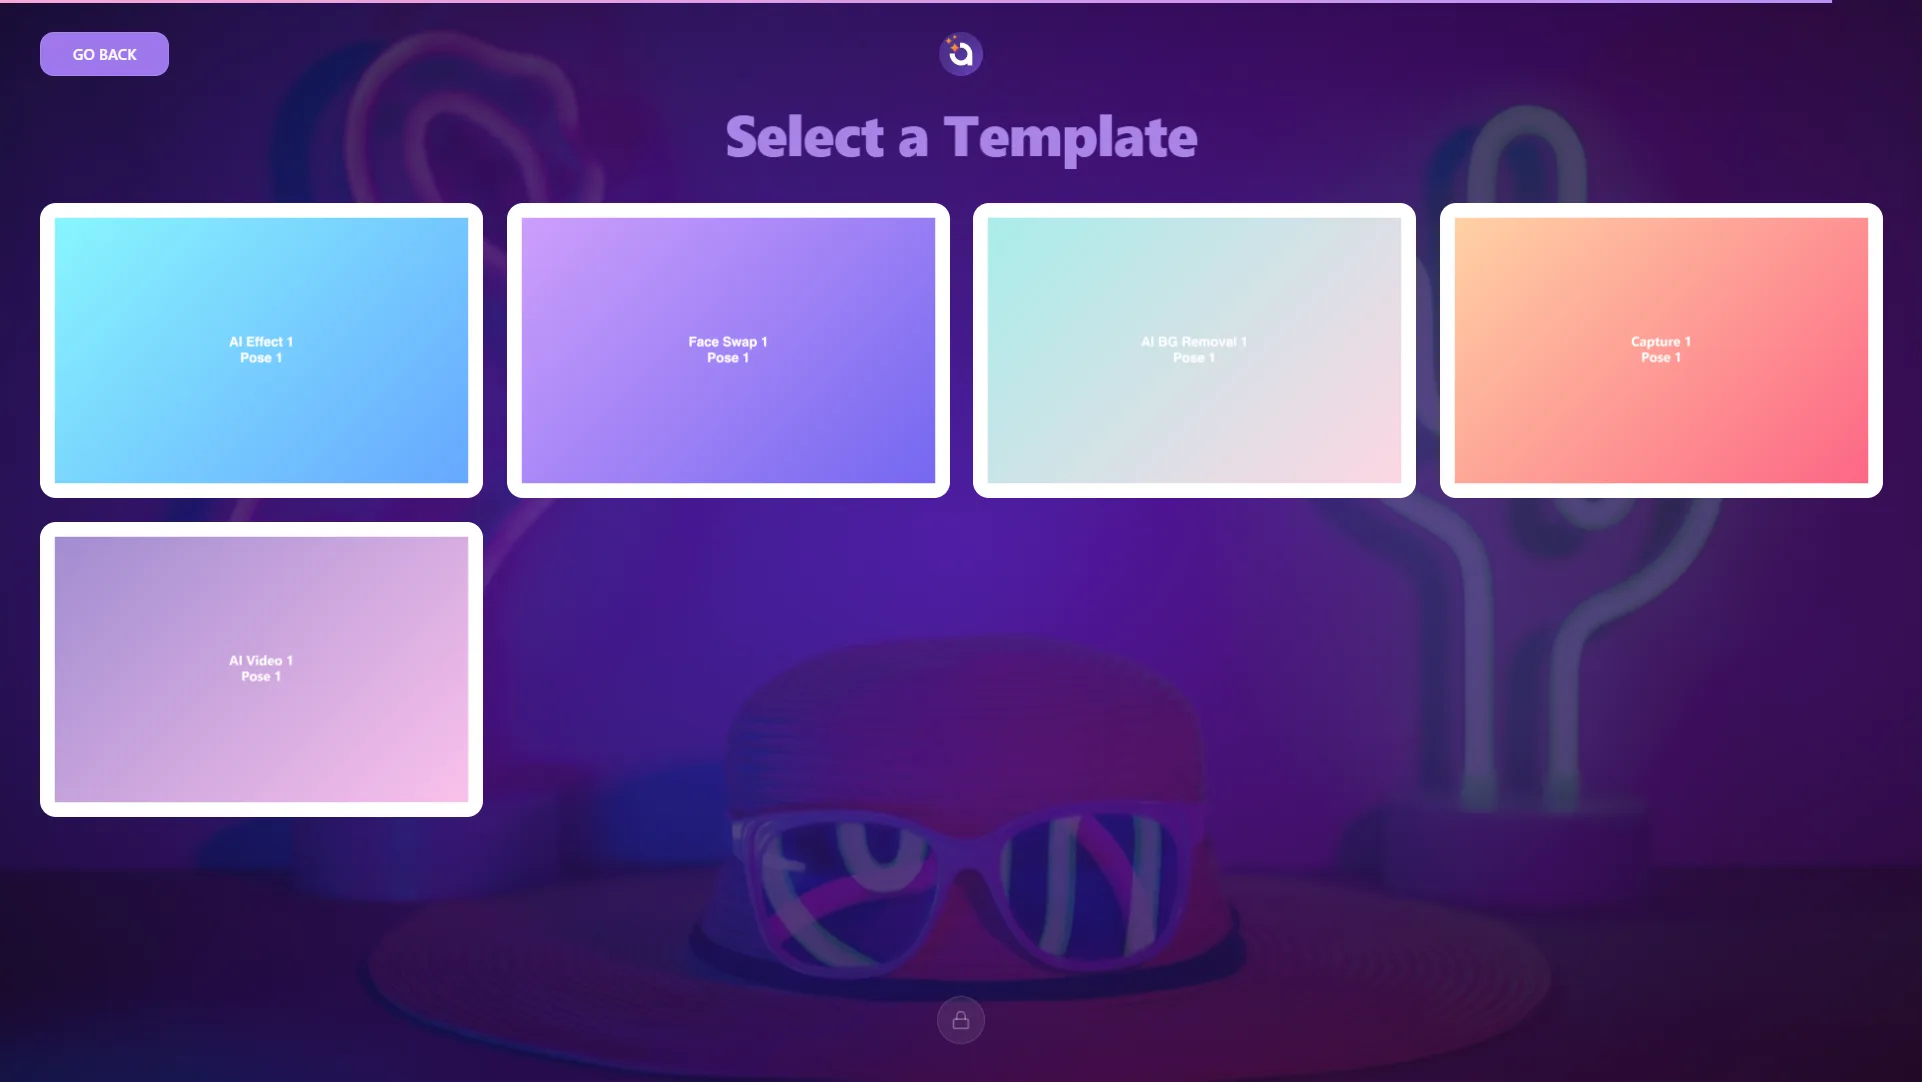
3. Select a Template
Guests choose the experience/layout, for example AI Effect, Face Swap, AI Bg Removal, Capture, or AI Video.
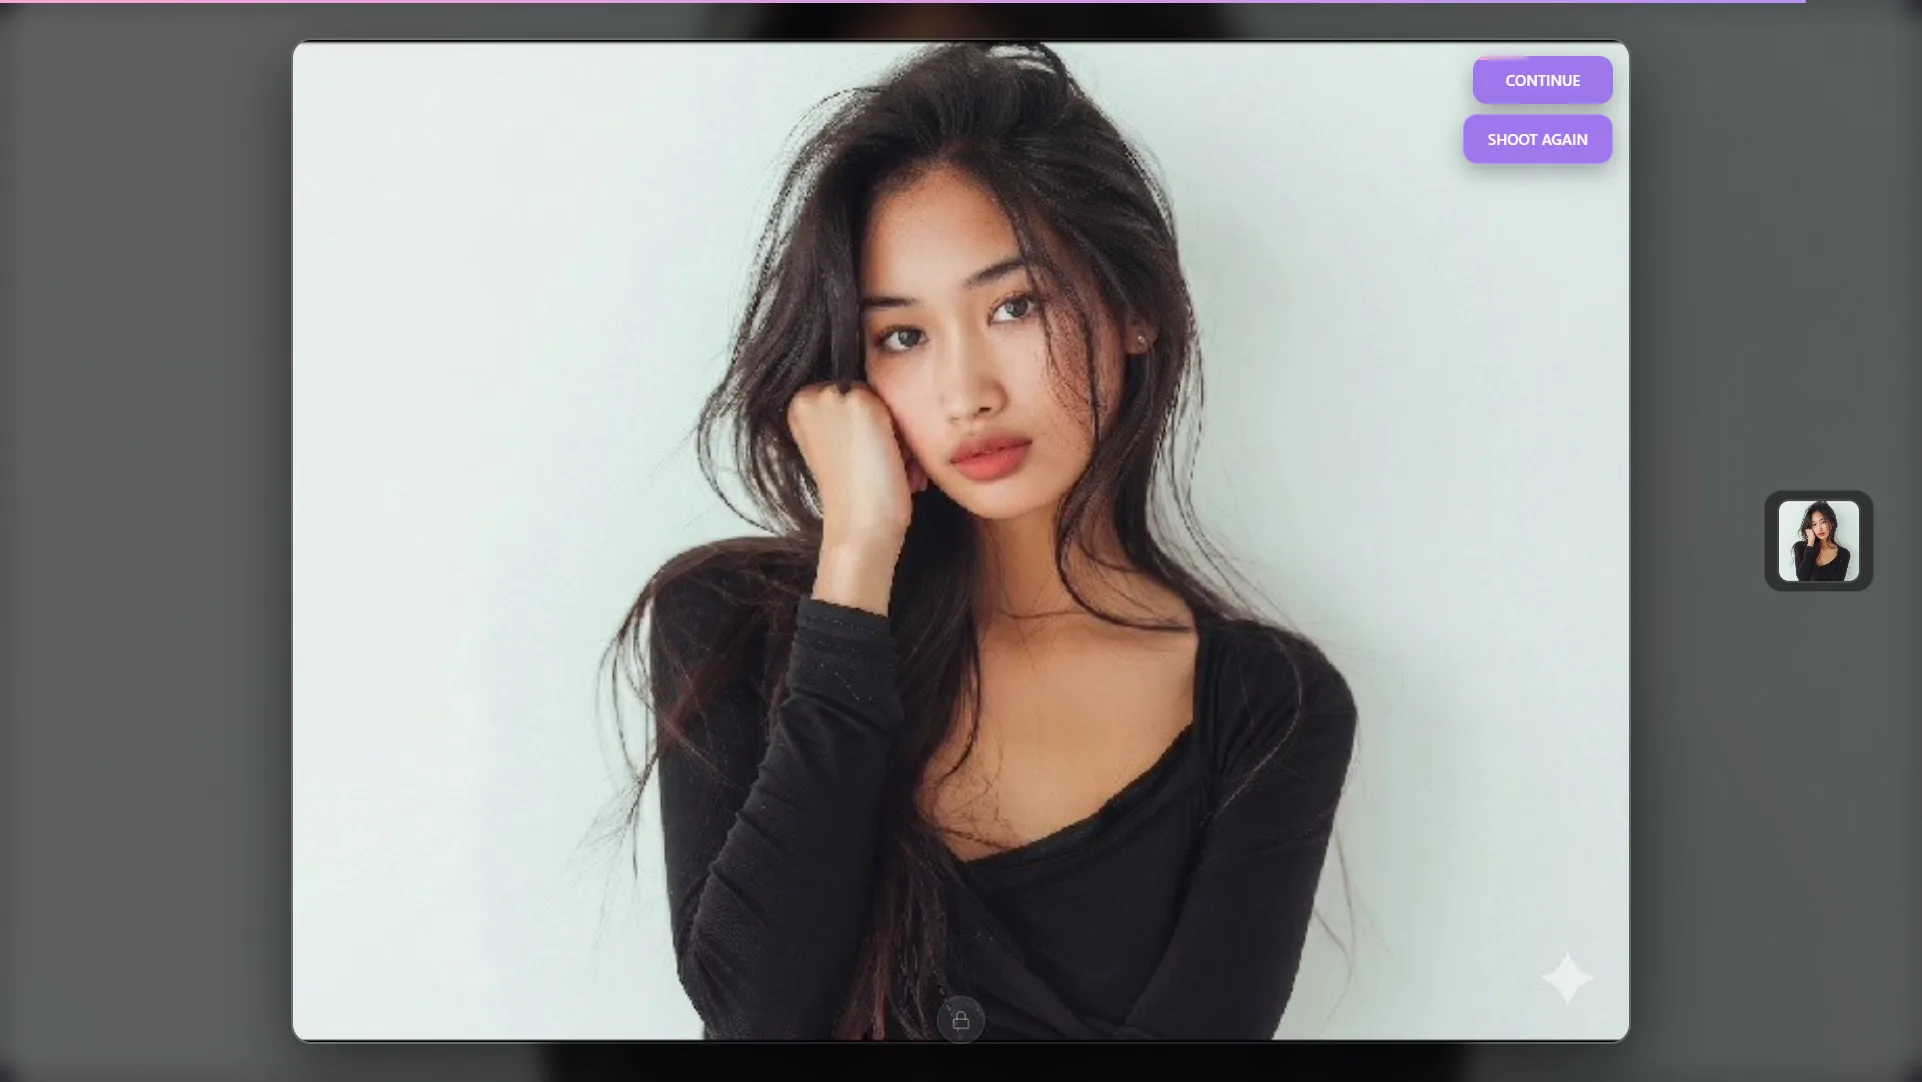
4. Strike a pose, "Say Cheese!"
The countdown runs and the photo is captured. Guests can Continue or Shoot Again.
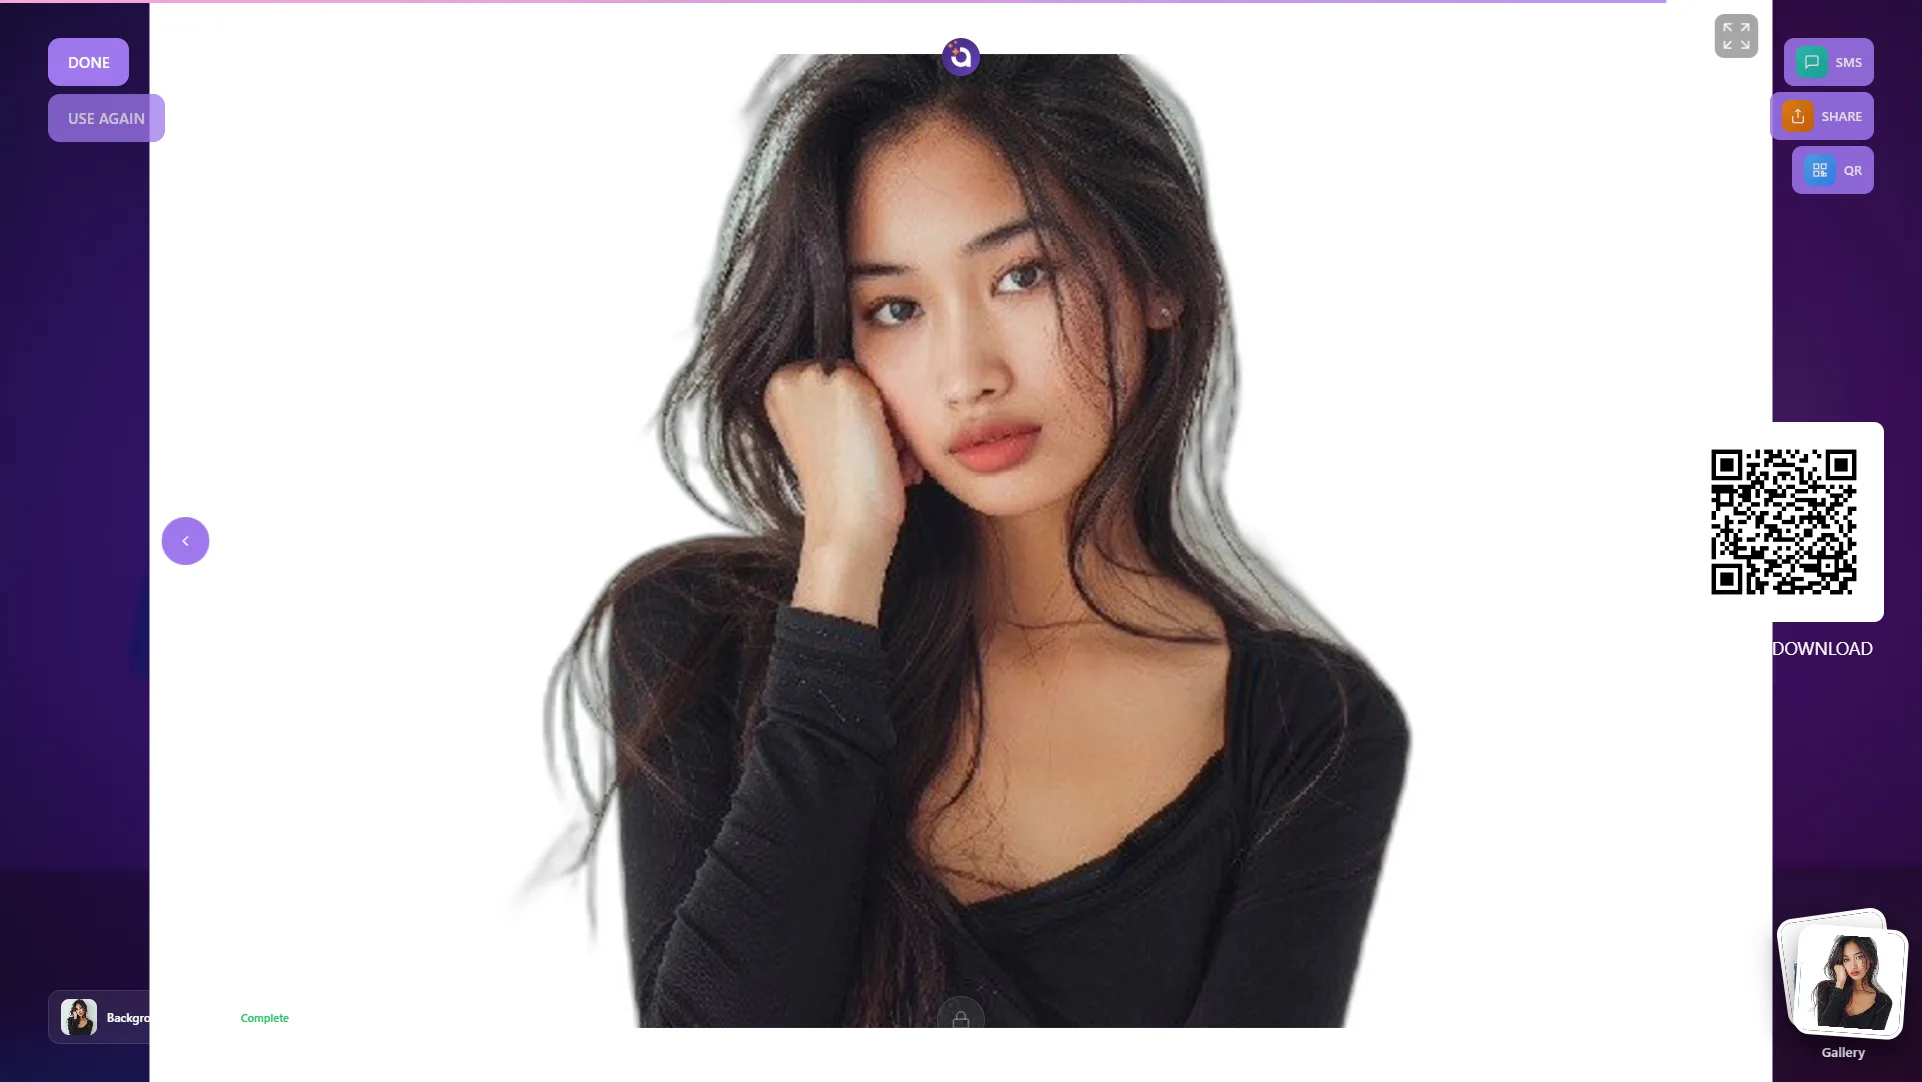
5. AI does its magic
The result is processed in seconds. In this example the Background Remover AI cleanly isolates the subject. The finished photo appears with sharing options, SMS, Share, and a QR code to Scan to Download, plus Done / Use Again.
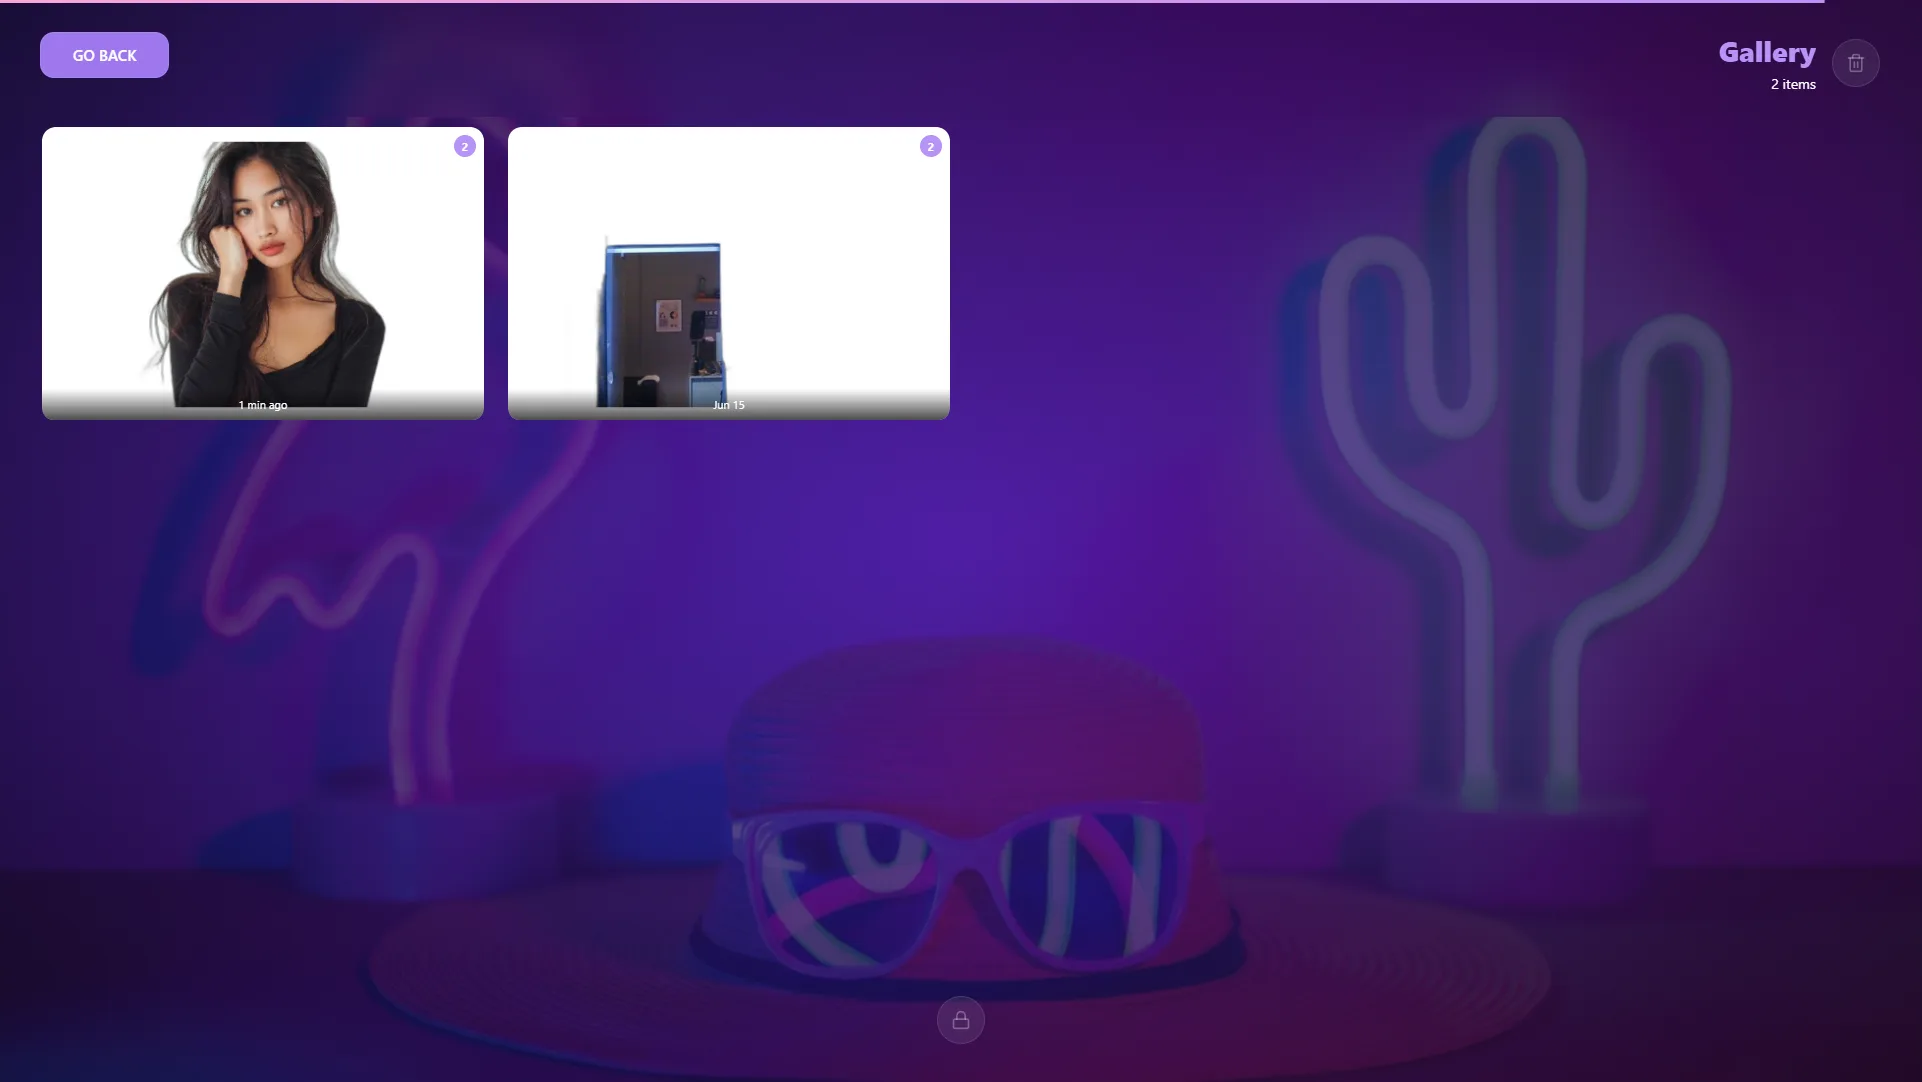
6. Gallery
Every capture is saved to the event Gallery, where guests (and you) can revisit and re‑share photos.
To leave the booth, tap the lock icon and enter your Dashboard PIN (if you set one) to return to the dashboard.